Everybody needs a junk drawer—you know, that place that catches all the odds and ends that somehow weave together into a web of everyday essentials: pencils and notepads, batteries, twist ties, you name it. Often, this drawer becomes a jungle where have-to-haves hide under just-might-needs, causing frustration when you have to rummage around to find what you are looking for. Now imagine an alternative—a well-curated selection of necessities, each in their own compartment, smiling helpfully up at you when you open the drawer to look for them.
The first step in achieving this harmonious scene is to take some time to think about how you use your junk drawer and what you really need to have living there. Having a clear understanding of the purpose of your drawer will help you know which items to keep and which ones to banish. When you are ready to begin diving in:
- Make sure you have a nice work surface where you can spread things out.
- Grab a trash bag and two containers, one for items you decide to store in a different area of the house, and the other for items you decide to donate.
- Take all the items out of the junk drawer.
- Go through each item, putting like with like: pencils with pencils, matches with matches, medicines with medicines, and so forth. Each pile represents a category.
- Once categories are established, you can go through them and ask yourself:
-
- Do I need this or can I part with it? If you can part with it, does it belong in the trash bag or donate container?
- Do I need all the items in this category or can I part with some? For example, what’s the right number of twist ties, or pens, or matchbooks for you?
- Do the items in this category belong in the junk drawer or are the items better stored in another part of your home? For example, if you have an assortment of loose medicines, they might be better off living in your medicine cabinet.
Put all the categories that you decide to store elsewhere into the designated “transport” container you grabbed at the beginning of this project.
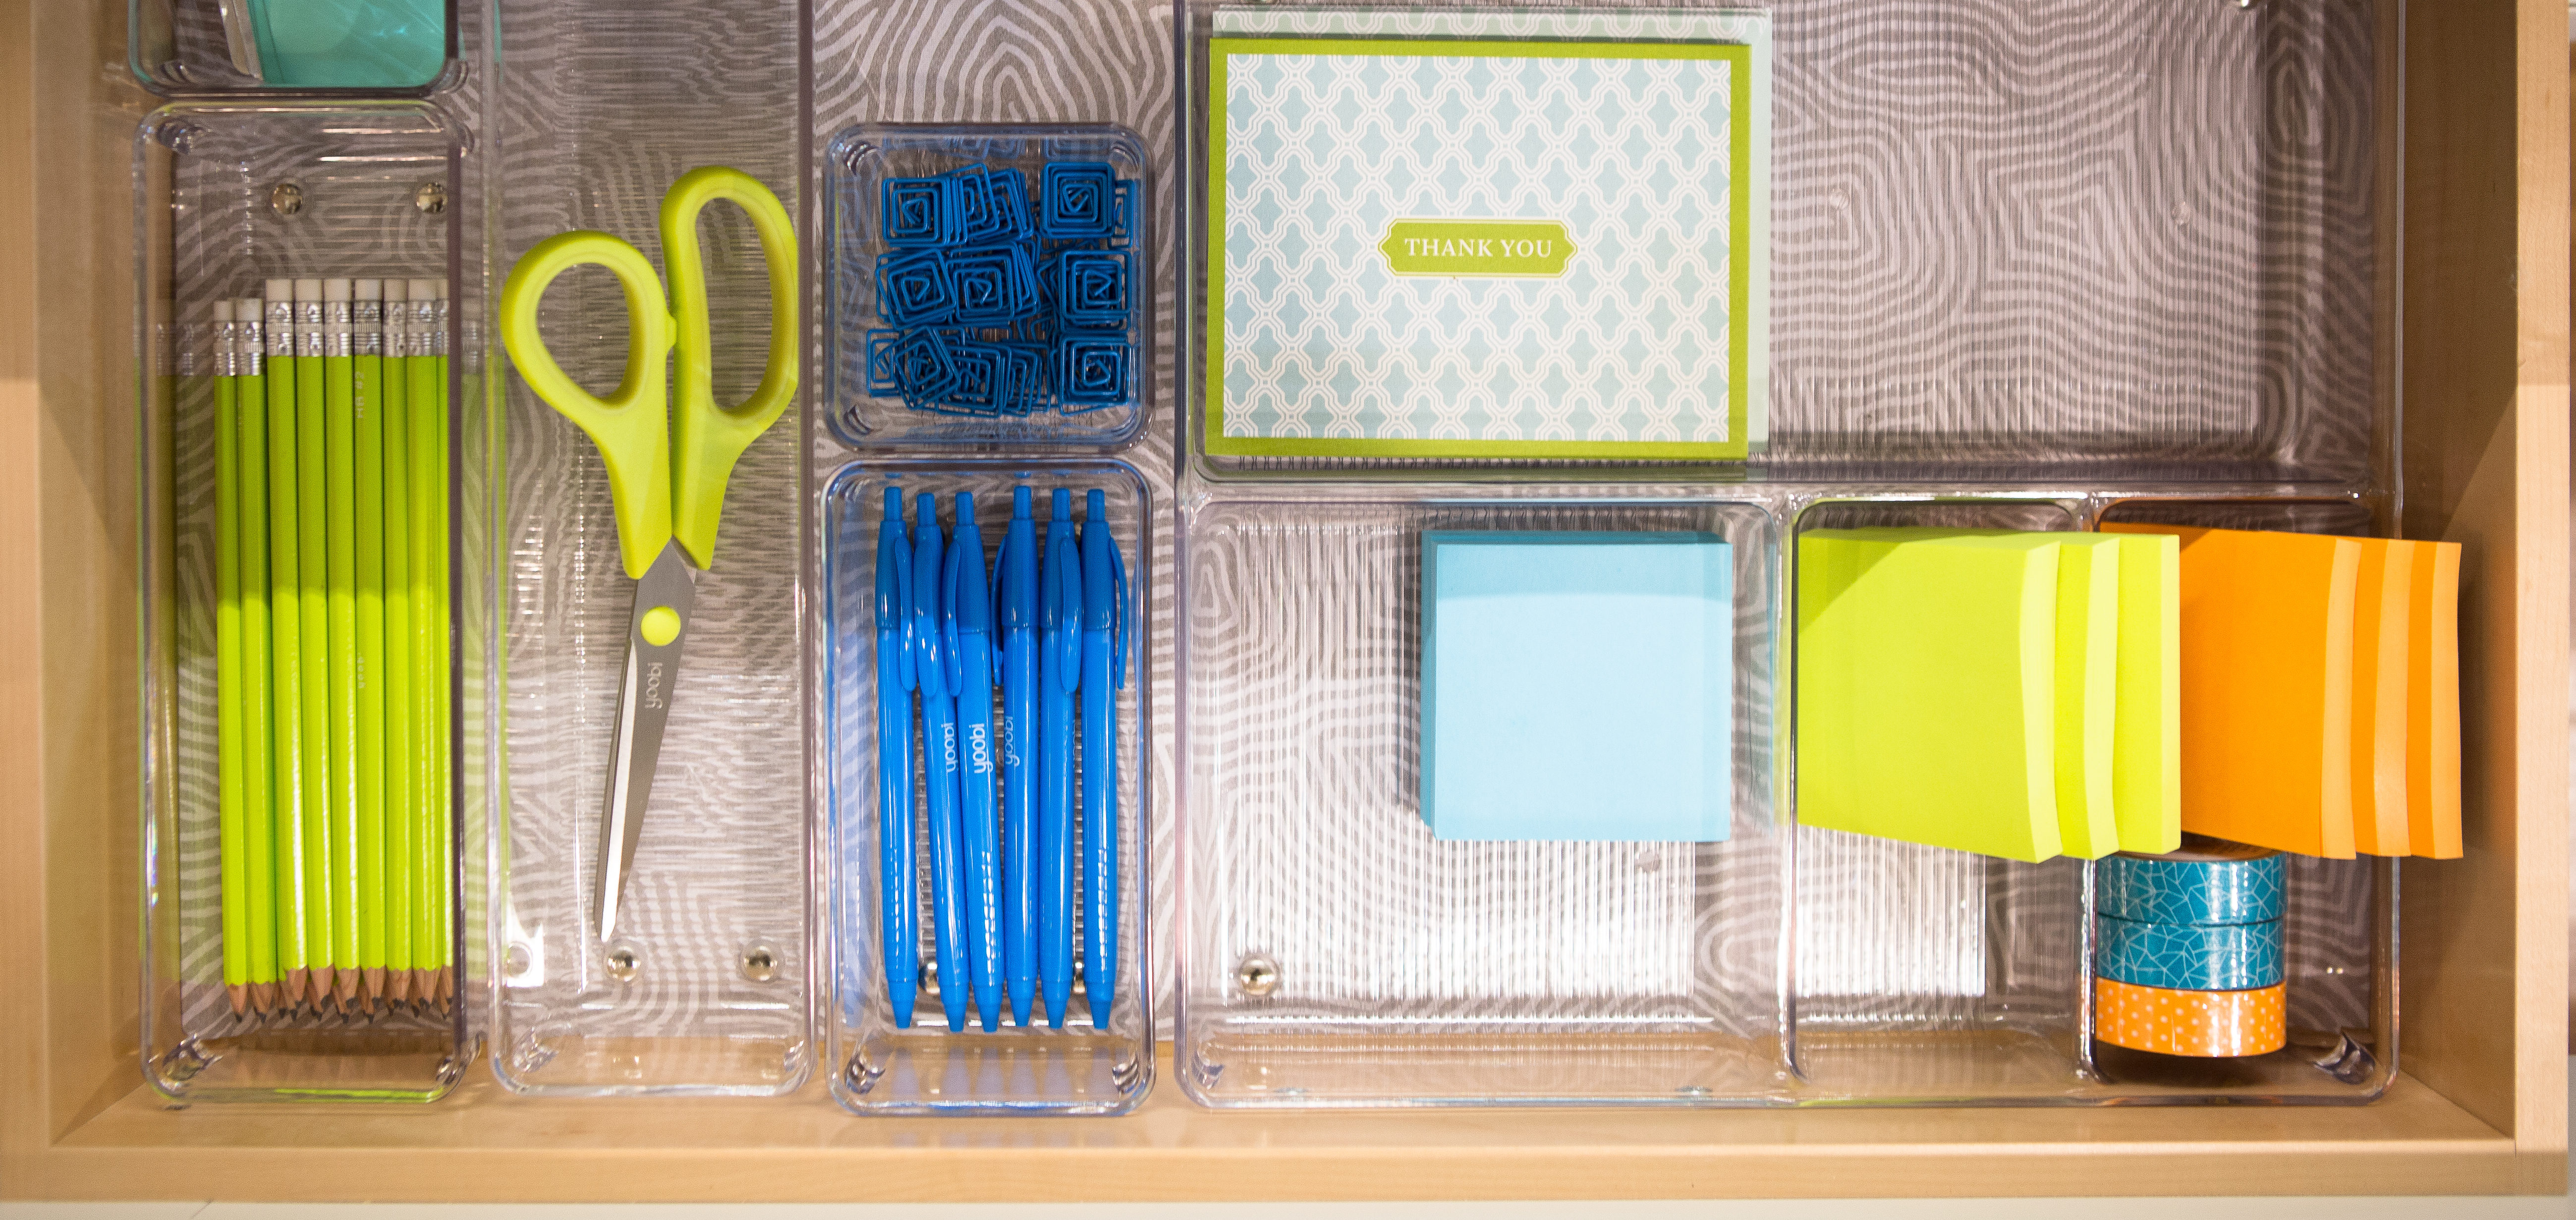
6. Now it is time to put away the items that will be living in your junk drawer. We recommend using drawer dividers to separate categories and keep items visible and usable. Visually consistent containers look and work best. Remember to remove store labels—they get harder to take off the longer they stay on a container.
We have a profile on Amazon where you can buy all our favorite products for organizing a junk drawer. TAKE A LOOK. Order items now!
Now, pat yourself on the back for a job well done! But before you move on, remember the magic of maintenance. Set a reminder for one to two weeks out and evaluate how your new system is working. Are things regularly returning to their homes or are categories getting intermingled? Maybe you need to add containers so that each category has its own. If things that you relocated to another place in the house have migrated back to this drawer, make time to return them to their proper home or create a designated spot for that category in the drawer. The best systems are the ones that get regular attention and maintenance!
Good strategy for dealing with this ever-present disorganization station! Keeping a neat junk drawer might mean that you’ve really mastered home organization!
All of us have a junk drawer, so this is great info for anyone. The dividers make a big difference!
Really good ideas! It can get overwhelming to think about organizing the entire house, but focusing on one small area like a drawer or one closet shelf can make a big difference. Repeat as needed.